The Most Common Stone Floor Installation Mistakes

Although stone tile may be hard to the touch, it’s more fragile and brittle than you may think. While stone is generally low maintenance, it needs specific care to look as good as possible, which should definitely be your goal. As this aesthetic stone floor Instagram account clearly demonstrates, your stone floors have tons of potential. You just need to make sure that you install them correctly to avoid any damage now or later. Fortunately, there are specific strategies you can take to avoid weathering and cracking over time. For example, avoiding common mistakes during the installation process can set your stone floor up for years of reliable use.
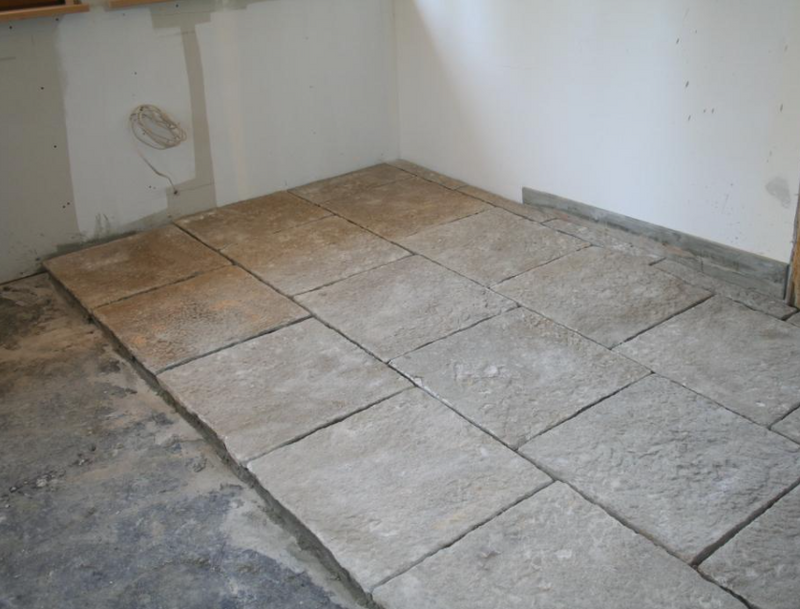
The Mistakes to Avoid When Installing Stone Floors
These issues may seem small when you’re completing an installation, but trust us, taking the extra time to do things right in the beginning will go a long way. Using the wrong underlayment. Properly installing stone floors requires a lot of prep work, including ensuring that the surface you’re installing the tile upon is strong, even and flat. If you install stone tile on top of an uneven or weak surface, you’re going to have problems with sagging or cracking tile in the future. To avoid this issue, consider putting down a thick cement board on top of your subfloor before installing your tile.
Selecting the wrong size trowel.
This might not seem like a big deal, but your trowel size needs to match your chosen tile size. Why? The larger your tile is, the deeper your thinset must be. (Thinset is a mixture of sand, water, and cement that acts as an initial adhesive for your tiles.) To create a deeper layer of thin-set, your trowel needs to have specifically deep notches — so, for example, you can’t just use a smaller trowel in a different way for large tilework. You really do need a specific trowel!
Under-mixing your grout (or using the wrong kind of grout).
While your grout isn’t the star of the show, you need it to be smooth, even and clean. When it’s done well, grout can completely transform a project from something obviously DIY to a professional-looking end product. Mix your grout until it has the consistency of peanut butter, and let it rest for 10 minutes before using it. Otherwise, your grout will not be strong, and it will crack. (Looking for a way to freshen up already-set grout?
Here’s a grout cleaner that will remove grime effectively without scrubbing your grout away.) Cheating the amount of curing time your new floor needs. When you’re planning out your project, make sure that you read and refer to the manufacturer instructions for each product you’re using (grout, tile, underlayment, everything!). If any of these products mentions a curing window, make sure that you factor that time into your plans and respect it. This is not a suggestion — it’s completely necessary. In fact, some experts recommend adding on extra curing time if you’re working in a chilly or wet environment. Failing to implement a smart, simple floor-care routine.
Once you’ve installed your stone floors properly, your job isn’t done! Here’s our advice from three-generations in the stone-care industry: A minimal-yet-regular cleaning routine will be well worth your time. Care for your natural-stone floors by selecting a gentle, effective stone-floor cleaner and using it frequently.
Avoid These Installation Mistakes and Fix Past Problems by Working With Professionals
Natural-stone surfaces can add a lot of value to your home and your everyday life, but they need to be installed with care. Whether you’re investing in a new kitchen or home floor now or caring for surfaces that were installed previously (and improperly), we have your back.
For advice on your stone care, don’t delay in reaching out to our team today! We have three-generations of stone-care expertise that we’re ready to put to use for you. Call 1-800-475-7866 to access our advice for your best stone-care practices yet.